New to Apps for Tableau?
The steps and resources below will help you
become proficient in Tableau Extensions.
Get started for FREE up to 5 users
It only takes 2 minutes to add new possibilities in your Tableau dashboards.
- Click on the link below and register to access your portal.
- Add value by using Tableau Extensions in your dashboards.
- Publish to Tableau Cloud or Server and scale to make impact with powerful insights.
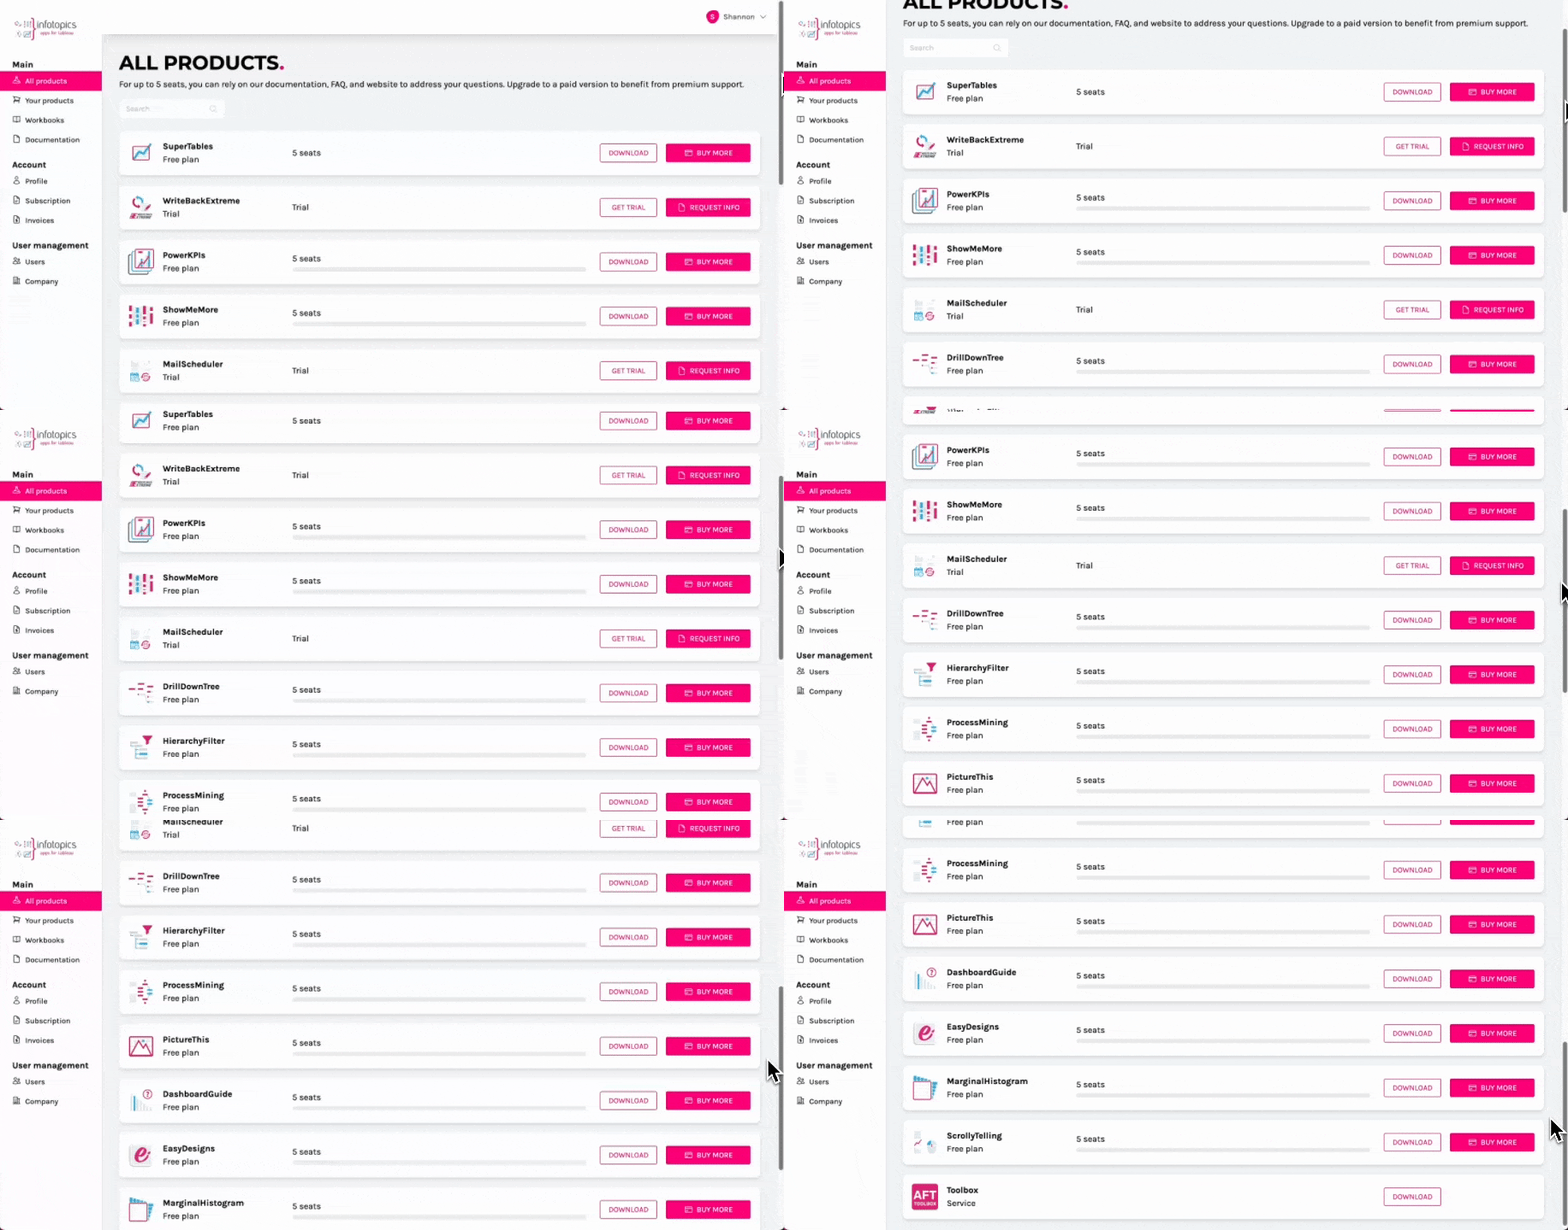
Access your User Portal
Get started by creating your account. Download the TREX file and explore one of the demo workbooks to experience the full potential of Tableau Extensions.
In your portal, the documentation, workbooks and TREX files are all Categorized by the individual products.

Add a Tableau Extension to your dashboard
Once you’ve logged into your portal, it’s time to integrate Tableau Extensions into your dashboards. Watch this short demo video below on how to add Tableau Extensions to your dashboard or read this blog.
Access Local Extension
For Viz Extensions, on the sheet level, head to the Marks Card dropdown and select ‘Add Extension’. Click on the “Access Local Extensions” dialog box, this will bring up a separate window for you to locate your Tableau extension file (.trex).
For Dashboard Extensions, on the dashboard level, from the Objects pane drag the Extension object to your dashboard. Click on the “Access Local Extensions” dialog box, this will bring up a separate window for you to locate your Tableau Extension file (.trex).
Configure your Tableau Extension
Configure your Extension by clicking on the more options dropdown on the Extension object. Some have a configuration button within the window which can also be used. Each configuration screen of Apps for Tableaus Extensions are self built, easy to use and offers users to format each extension to best fit their use case. See our Documentation Page for product guides on your Extension.
Publish your workbook to Tableau Cloud or Tableau Server
After perfecting your dashboard with Tableau Extensions, it’s time to share your insights with your team. By publishing your workbook to Tableau Cloud or Tableau Server, your enhanced visualizations will be accessible to your teams or clients.
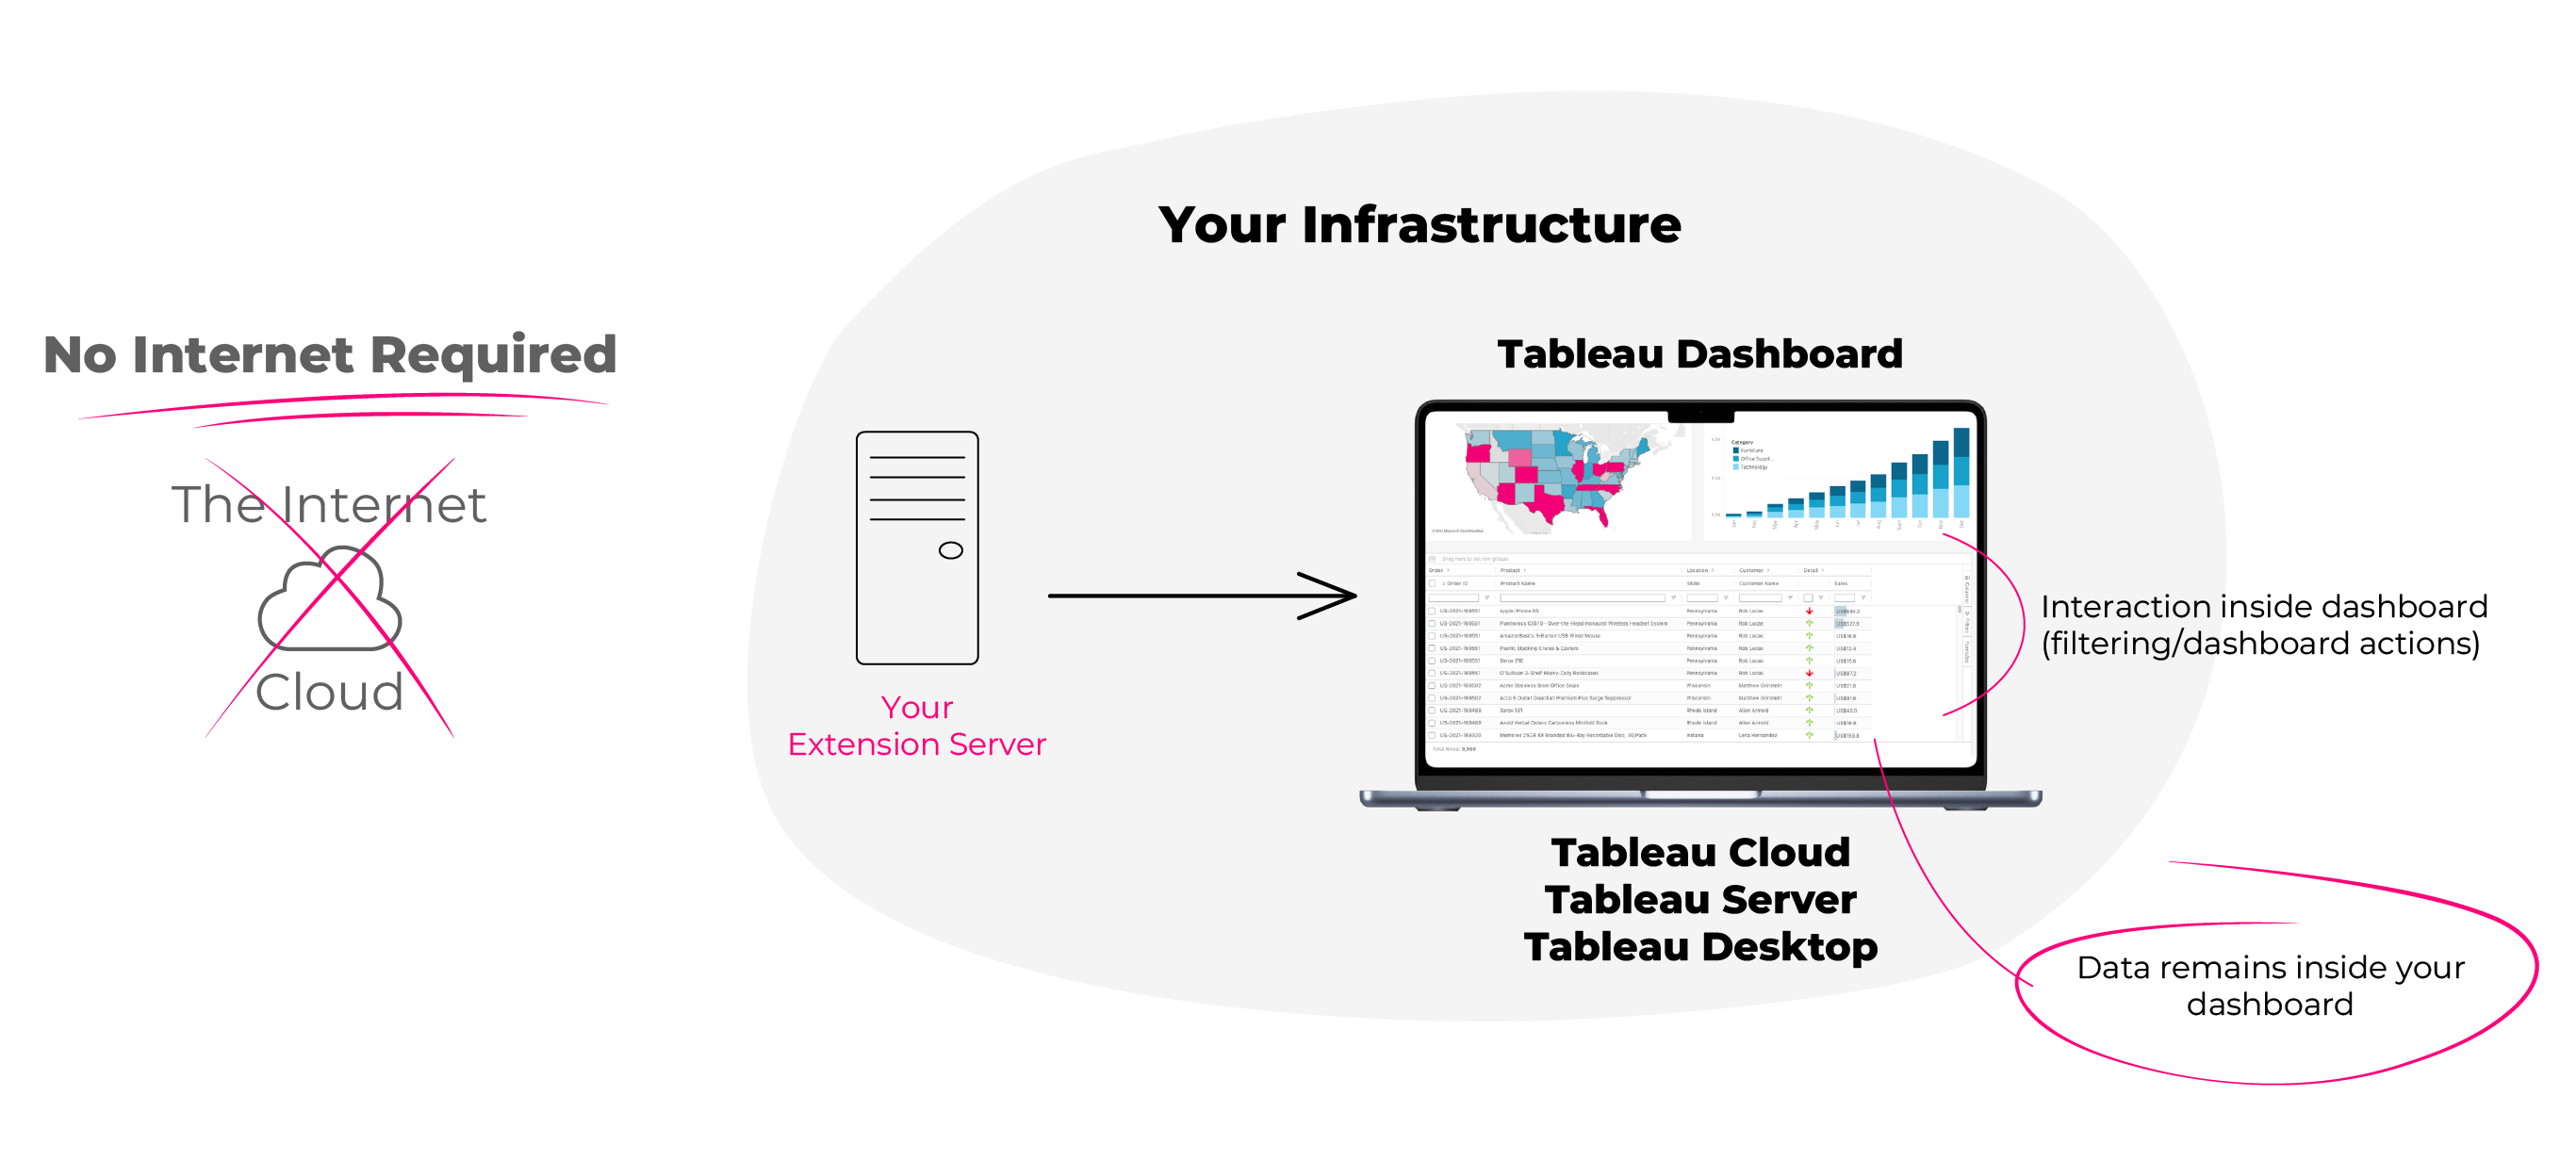
All data is client side rendered, Apps for Tableau does not have access to your data.
Add Tableau Extensions to the safe list on Tableau Cloud or Tableau Server
Ensure your Tableau Extensions to work seamlessly for all users by whitelisting and setting permissions on your Tableau Cloud or Tableau Server.
On the safe list, you can control whether to grant the Extension full data access. You can also control whether users will see a prompt asking them to allow the Extension access to data. If the Extension does not require full data access, you don’t need to add it to the safe list. You might want to add an Extension to the safe list just so that you can configure whether or not users see the prompts.
A step-by-step guide
- Go to Settings > Extensions.
- Under Enable Specific Extensions, add the URL of the Extension. See Identifying an Extension.
- Since version 2024.2 you can whitelist a wildcard URL. To whitelist all Apps for Tableau cloud Extensions at once: https://extensions-appsfortableau.infotopics.com/.*
The .* means everything after the URL is whitelisted. - Choose to Allow or Deny the Extension Full Data Access. Full data access is access to the underlying data in the view, not just the summary or aggregated data. Full data access also includes information about the data sources, such as the names of the connection, fields, and tables. In most cases, if you are adding an Extension to the safe list you will also be allowing to have access to full data. All data is client side rendered, Apps for Tableau does not have access to your data.
- Choose to Show or Hide the User Prompts. Users see the prompts by default when they are adding an Extension to a dashboard, or when they are interacting with a view that has an Extension.

