
MailScheduler One-Click Installer Guide
Install MailScheduler on Windows with a single click
The following guide provides extra context to the One-Click Installation Wizard for MailScheduler, getting you on the way with advanced Email based reports as soon as possible!
Prerequisite
There are a few prerequisites and things you’ll need before the installation:
- A web domain, for example, <https://extension.company.com> (create a DNS entry) which points to the host of MailScheduler.
- SSL certificates for the above domain (the installation requires the domain’s `.crt` and private `.key` file, or a `.pfx` file).
- Server Resources: 4 vCPU, 8Gb, 50Gb application disk space, 100Mbps or 1Gbps network-interface
- Firewall rules permit access on the port the application will run on. Both internal, external, network and server-firewall.
- SMTP setting which the application can use to send emails.
Please note that Tableau requires extensions to be running on HTTPS/SSL connection and therefore required!
Pre-installation Checklist
Before starting the installation process, the following items should be collected and stored in a way they can be accessed during installation.
The executable and license file can be downloaded from the Apps for Tableau portal (https://my-appsfortableau.infotopics.com).
A HTTPS webdomain is required, and in turn requires a SSL certificate. Both the .key and .crt or PFX files are required in the installation process.
The last requirement is a running database that will function as a repository database for MailScheduler. This is a MySQL (min 5.7), SQL Server (min 2016) or PostgreSQL database.
We require temporary internet access during the installation procedure.
The Microsoft Visual C++ Redistributable software package needs to be installed before starting the installation.
Requirements:
- One-Click installer executable
- MailScheduler License
- SSL Certificates (.crt and .key)
- Credentials to a running database
- Temporary internet access
- Microsoft Visual C++ Redistributable
Installation Steps
The installation wizard for MailScheduler consists of several steps guiding you through the installation process. For further details, please follow the descriptions below.
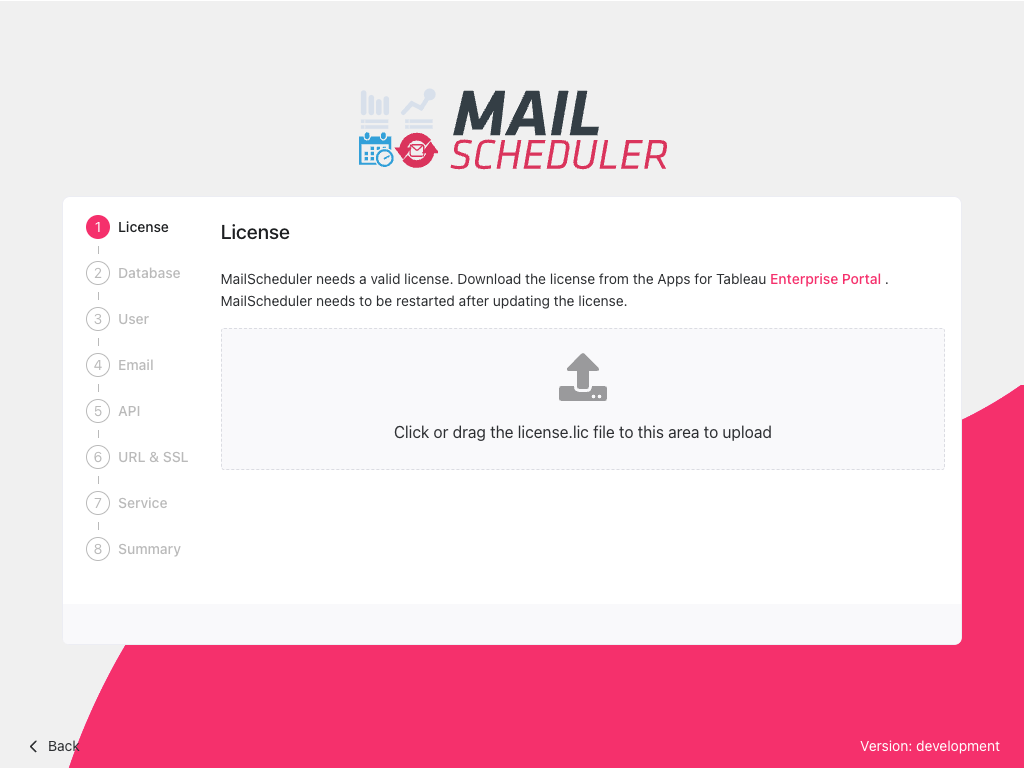
MailScheduler License
When starting the installation process, the first step is to provide the subscription license downloaded from the your personal download page in our Apps for Tableau Portal. Either click the upload area to find the license file in your storage, or drag and drop the file directly into the installer.
Database Setup
Currently, the following databases are able to serve as a repository database for MailScheduler:
- SQL server
- MySQL
- PostgreSQL
- SQLite
Below is the specific setup required for each of these databases.
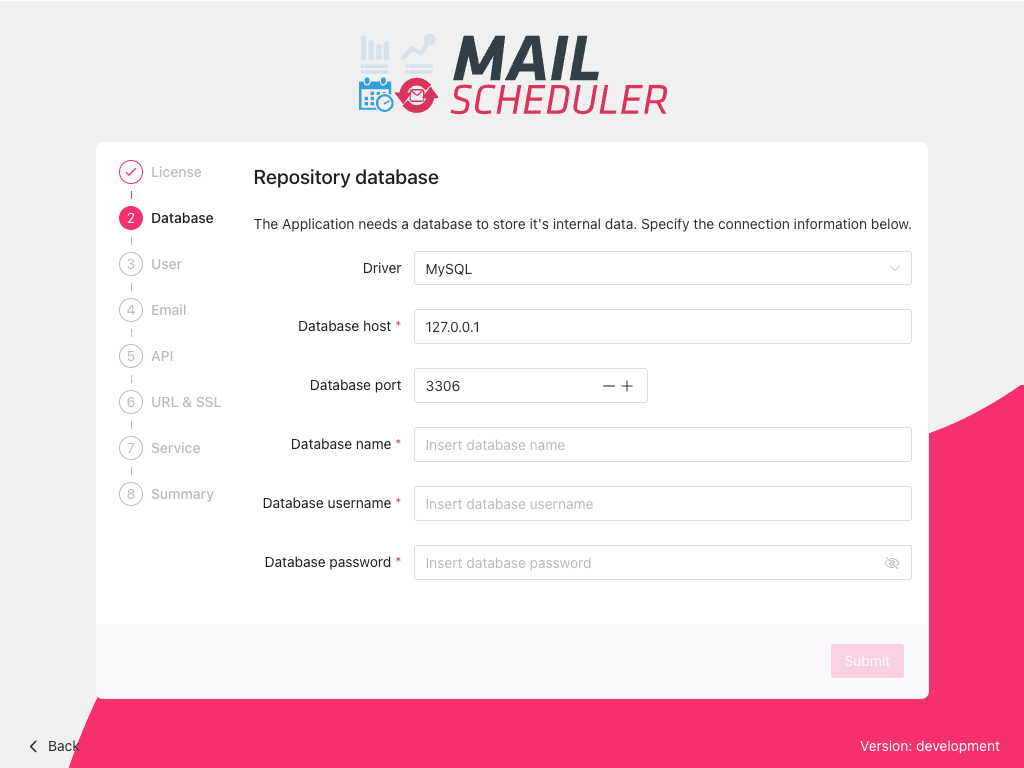
Information and credentials required for a MySQL database to function as repository database are:
- Database host:
- (Optional) Database port:
- Database name:
- Database username:
- Database password:
In order to use SQL Server, a SQL-srv account has to be used as opposed to a Windows-authenticated (AD) account. Furthermore, the following is required:
- Database host:
- (Optional) Database port:
- Database name:
- Database username:
- Database password:
PS: Using a host with like machine01instance?
Write it like this: machine01instance
Required connection information for a PostgreSQL database are:
- Database host:
- (Optional) Database port:
- Database name:
- Database username:
- Database password:
- (Optional) Default schema:
To use SQLite for a local flatline database, a database name must be defined. If this database name is already present, the existing database will be reused for MailScheduler. SQLite is a local flatfile database. This database should be used for testing only as you can’t connect to it from Tableau.
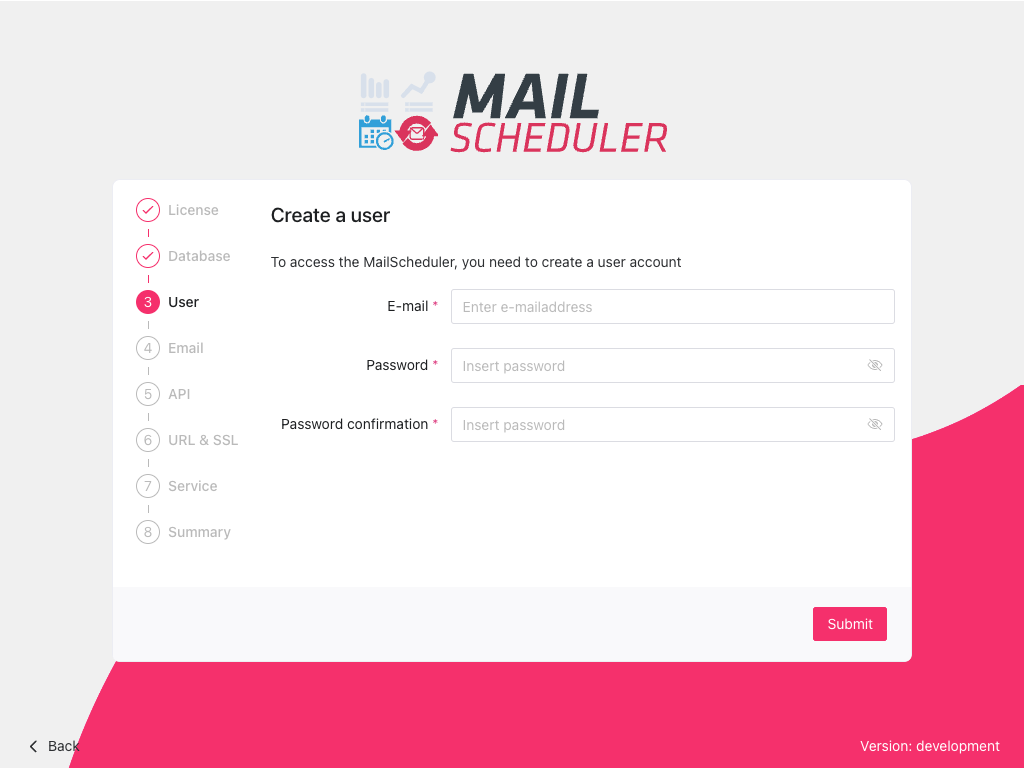
Create a User
The next step is to create an admin user for MailScheduler. This user will be used for the initial login into the application. Make sure to write down or remember the login information (this can be changed in the application after logging in).
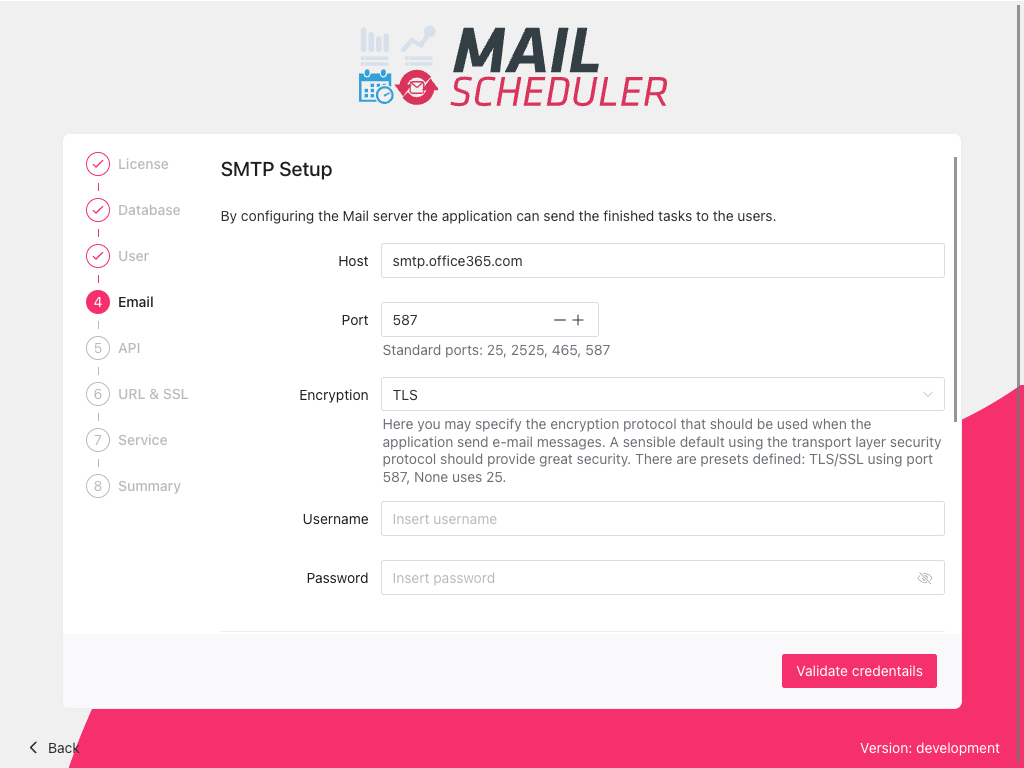
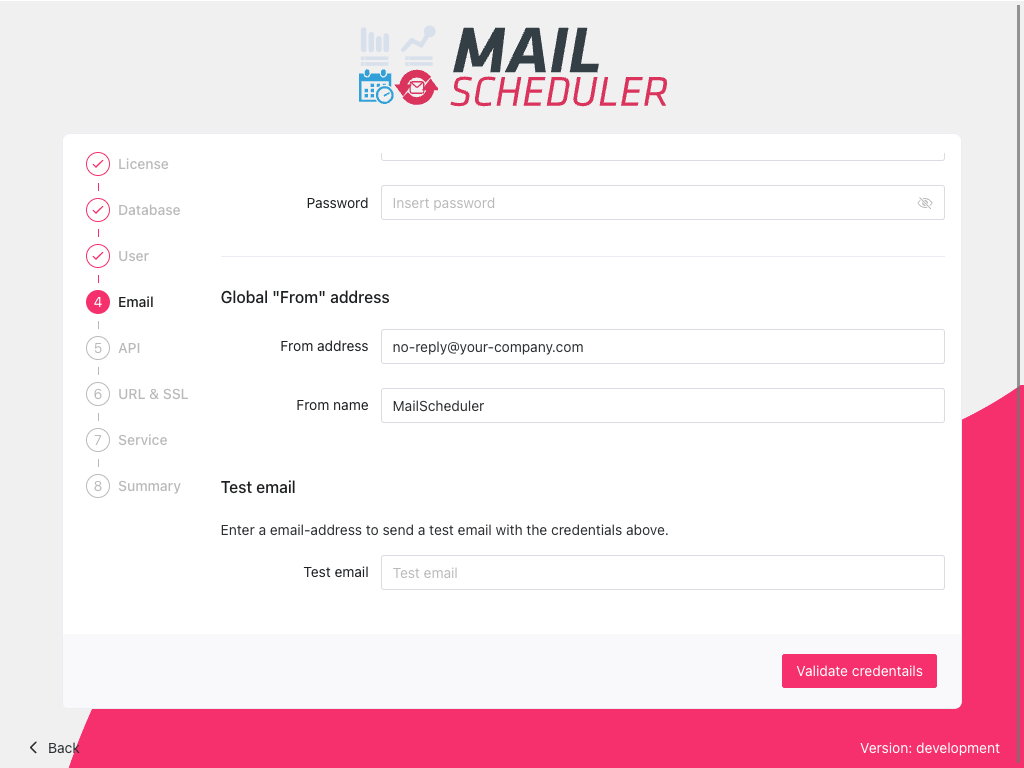
SMTP Setup
In order to send an email, you have to configure your mail server to send out your Tableau dashboards. Required for this step are:
- Host
- Port
- Encryption protocol
- Username/Password
Furthermore, a default “From” and name should be configured. This is the contact information that will be visible to receivers of any mail sent by MailScheduler. The “From” address and name can later be configured for each individual task.
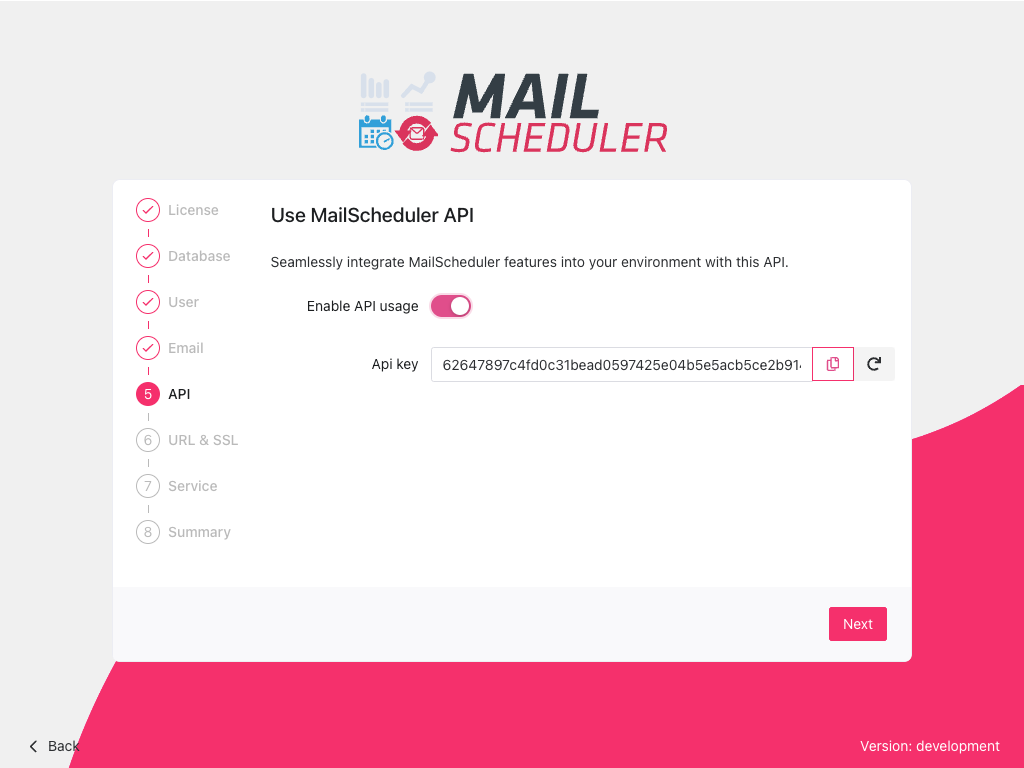
MailScheduler API
Enabling the MailScheduler API allows for advanced configuration and automation between MailScheduler and other services within your environment.
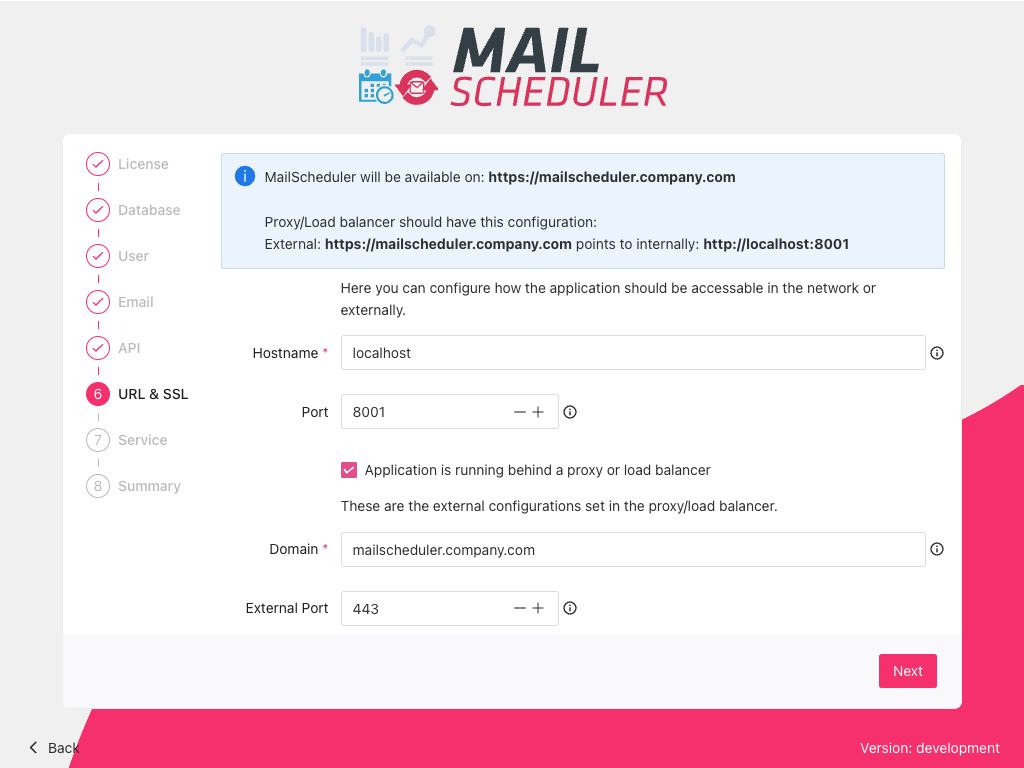
URL & SSL Certificate
Next is the configuration of the domain the application will be run on. The protocol (e.g. http:// or https://) can be skipped. You can specify a port number at the end (e.g. mailscheduler.company.com:8080).
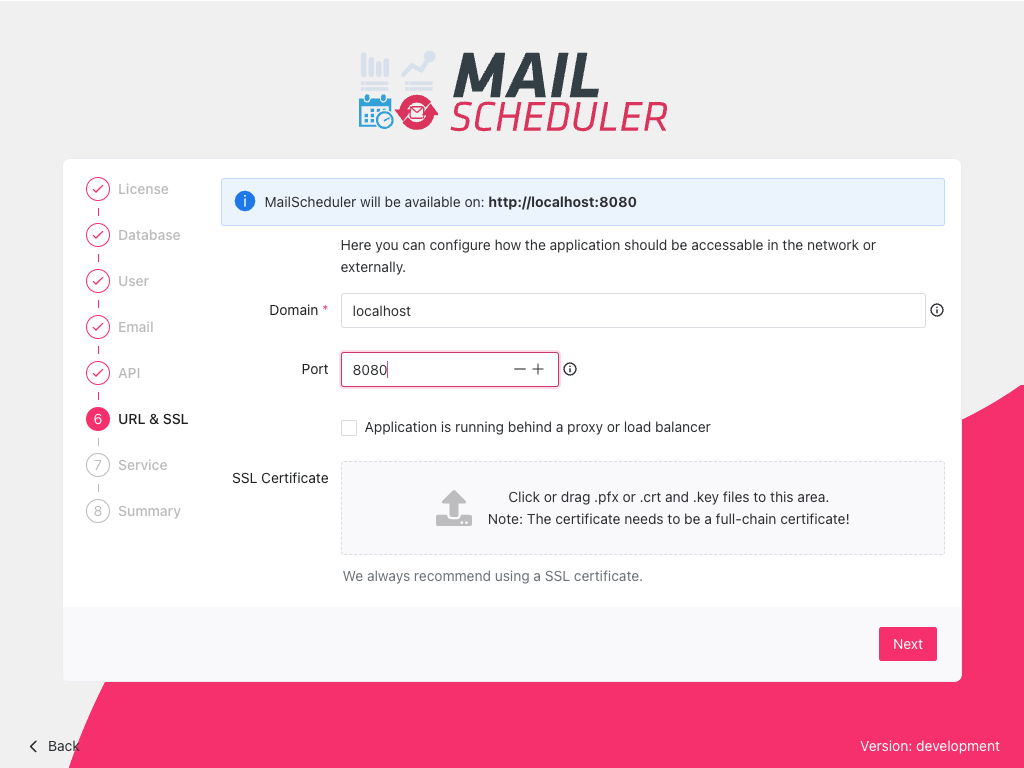
If the application is running behind a proxy or load balancer, be sure to check the box and fill in the following details:
Background Service
Register MailScheduler as a background service through the installer. This automatically launches the application when the system is rebooted. This is optional, but recommended when using MailScheduler in any scenario except trial.
Upgrading MailScheduler from 2.x to 3.0
The greatest part of MailScheduler 3.0 is that it has a built-in webserver. In other words, it does not need to have IIS or XAMPP for serving the application anymore.
This guide will explain how to transfer configuration to the new MailScheduler 3.0 application and how to disable/remove the current webserver to be able to reuse the system ports.
The upgrade setup of MailScheduler 3.0 requires the following information:
- The .env file of your current installation.
- The LICENSE file (downloaded from our portal or copied from your current installation)
- The URL and port that is used by the current installation.
- The SSL Certificate (in .pfx or .crt & .key format) that is applicable to the forementioned URL
In this guide we will extract this information from the current installation.
Lets get started!
- Create a backup of the installation directory of MailScheduler.
You will need the .env and LICENSE files that are in there for the new installation.
Your current version of MailScheduler can be served by either XAMPP or IIS. Follow the steps for your type of installation in the appropriate section below.
Internet Information Services (IIS)
We need to do 3 things:
- Export SSL Certificate
- Retrieve the URL and port
- Stop IIS
Export SSL Certificate
The first step is to locate and export the SSL Certificate. Note that it is only possible to export the SSL certificate when it was marked as `Exportable` while it was imported in the past. When the certificate is not exportable, you need to get the original certificate from your IT Department.
- Open the Internet Information Services (IIS) Manager. You can usually find it by searching for “IIS” in the Start menu.
- In the left-hand pane of the IIS Manager, click on the server node
- In the middle pane, double-click on the `Server certificates` icon.
- Right-click the certificate that is valid for the URL of your MailScheduler instance
- Select `Export` from the context menu.
- Export to Desktop and set a password. You will need this password in the MailScheduler 3.0 installation.
Retrieve URL and Port
The second step is retrieving the URL and port number that is configured for MailScheduler.
Stopping the Webserver
The third step is about unlocking the port that is being used by IIS so the new MailScheduler application can run on the same port.
When MailScheduler is one of multiple sites served by IIS you can simply stop the website by right-clicking on the MailScheduler site in the left pane and select `Manage Website` -> `Stop`.
When MailScheduler is the only site that is configured in IIS we can safely stop IIS completely:
- In the left pane, Right-click on the server node (the root node)
- Select Stop from the context menu.
- We should now remove IIS as a service to prevent it from being started automatically on system startup:
- Open the start menu and type ‘Services’.
- Open the Services app.
- Search for `World Wide Web Publishing Service`
- Right-click on it and select Properties from the context menu.
- Set the startup type to `Disabled`. Then press OK.
XAMPP
- Open the vhosts file of your XAMPP configuration. The file is typically located at ‘C:XAMPPapacheconfextrahttpd-vhosts.conf’
- From this file, you’ll need to find the location of the SSL certificates of this domain. (search on ` SSLCertificateFile` to find it easily)
- When MailScheduler is not the only site served by apache, you need to remove the whole block of the WriteBackExtreme site.
- Open the XAMPP control panel as administrator
- Stop apache as a service
- When the repository database of MailScheduler is MySQL you still need XAMPP to keep that database running. In that case you can simply stop the apache process by opening the XAMPP Control panel and stop apache manually. Do not forget to stop the service aswell.
- When the repository database of MailScheduler is NOT MySQL, you can remove XAMPP from your system. This will make the ports available for the new MailScheduler 3.0 installation
When MailScheduler is NOT the only site that is served by XAMPP, you’ll need to change the DNS of the MailScheduler domain to use another port than 443 or 80 since that is still in use by XAMPP.
Upgrading through Installer
After stopping the old MailScheduler you can launch the new 3.0 Installer by double clicking the application. On the first screen, select `Upgrade from 2.0?` link. This page allows you to upload the .env file of the old installation. After uploading the application starts the installation process. You will see that step3 (database Setup) and step 4 (User creation) can be skipped.